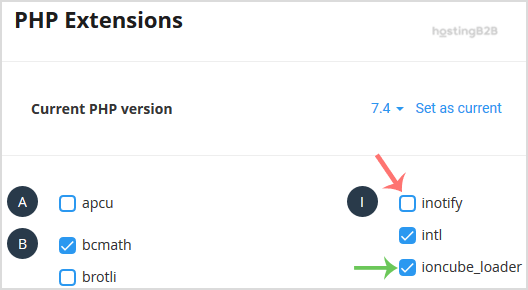

You can use CloudLinux Selector to enable/disable PHP extensions in cPanel.
1. Log into your cPanel account.
2. In the Software section, click the Select PHP Version.

3. Click on the Extensions menu.

Note: If the Extensions page shows an error related to the native PHP version, change it to a non-native version first.
4. For enabling the extension, you will need to tick mark that option. If you wish to disable it, then unmark it, and it will be disabled.

Visit our blog for more knowledgebase articles !
The post Enable/Disable PHP Extensions using Cloudlinux Selector in cPanel appeared first on HostingB2B.


