Follow this tutorial to create an email account in your Plesk.
1. Log in to your Plesk account.
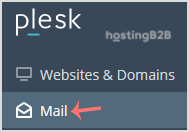
2. In the Sidebar Menu, click on Mail.

3. Click the Create Email Address button.

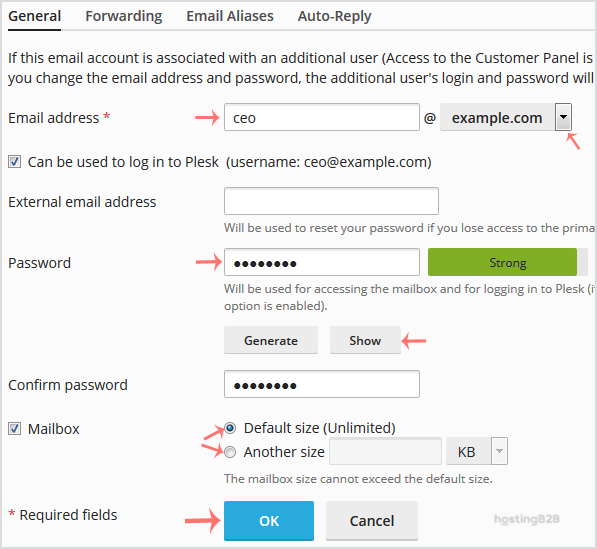
4. Under the General tab, fill up the following details:
– Email Address: Enter an email and should you have multiple domains, choose the appropriate one from the drop-down menu.
– Password: Manually enter a password or click on the Generate button to create one. Click on Show to copy the password.
– Mailbox: Select Default size or select Another size and enter the amount of storage space.
Click OK.

Congratulations you have created an email account in Plesk.
Visit our blog for more knowledgebase articles !
The post How to create an Email account in Plesk? appeared first on HostingB2B.


