A simple guide on how to update the DNS nameservers at 123-REG.
After purchasing our hosting account, you will receive a welcome email message from us. It will contain our nameservers, and you will need to update your domain nameservers to ours.
If your domain is registered on 123-Reg, you should follow this tutorial to update the Nameservers of your Domain to our Nameservers.
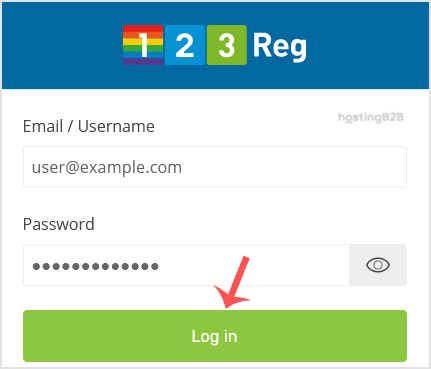
1. Open the 123-reg.co.uk website and click on Control Panel. It will show you a login form.

2. Enter the username and password of your 123-reg account and click the Log-in button.

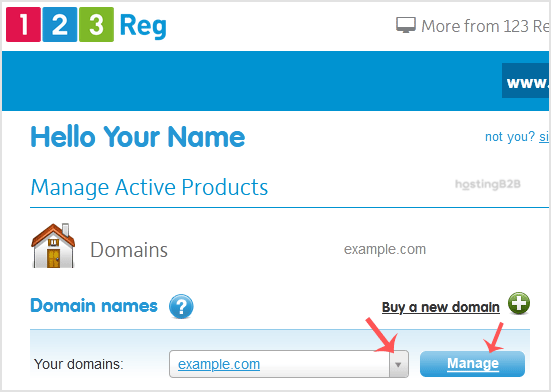
3. After a successful login, select the appropriate domain from the dropdown list and then click the Manage button.

4. Scroll down to the Advanced domain settings and click on Change Nameservers (DNS).

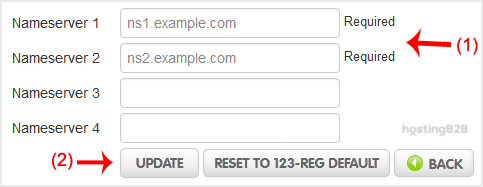
5. Enter your Nameservers in field 1 and field 2 and click on Update.

You will see a success message.
Note: It may take anywhere from 12 to 24 hours for the changes to take effect worldwide.
You have successfully updated the DNS nameservers at 123-REG.
Visit our blog for more knowledgebase articles !
The post How to update DNS Nameservers at 123-REG? appeared first on HostingB2B.


