A simple guide on how to update the DNS nameservers at name.com
After purchasing our hosting account, you will receive a welcome email message from us. It will contain our nameservers, and you will need to update your domain nameservers to ours.
If your domain is registered on name.com, you should follow this tutorial to update the Nameservers of your Domain to our Nameservers.
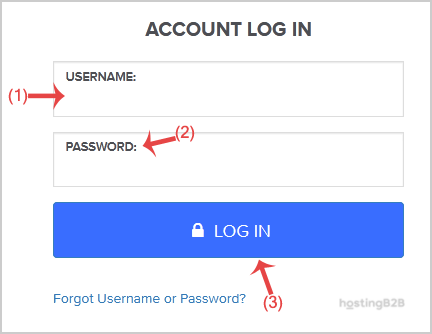
1. Open the name.com website and click on Login. It will redirect you to a login page.

2. Enter the username and password of your name.com account and then click the login button.
3. After a successful login, click on My Domains and you will see all of your active domain names under the Domain tab.
4. Click on the domain name you wish to change.
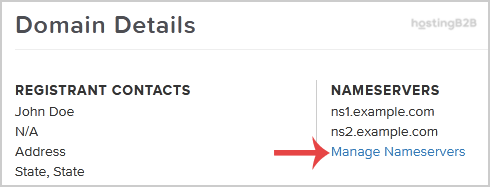
5. Scroll down to the bottom of the page and under Nameservers, click on the Manage Nameservers.
6. Navigate to Add Nameserver and enter our nameserver in the text field (for example, ns1.example.com). Then click the Add button. Repeat this to add our 2nd name server.
Note: For your current nameservers, you need to check your Hosting Welcome E-mail. In case you have lost it, contact us, and we will be happy to help you. It may take anywhere from 12 to 24 hours for the changes to take effect worldwide.
You have successfully updated the DNS nameservers at Name.com.
Visit our blog for more knowledgebase articles !
The post How to update DNS Nameservers at Name.com appeared first on HostingB2B.


