What Is a Linux VPS with Remote Desktop?
Installing XRDP on Debian/Ubuntu VPS is the most efficient way to manage your server through a familiar graphical interface. This guide is specifically tailored for your HostingB2B VPS instance (1 vCPU / 2 GB RAM). Given the hardware constraints, we utilize XFCE—the industry standard for lightweight desktop environments—to ensure a responsive GUI without exhausting your CPU cycles or causing performance bottlenecks. Setting up a linux vps remote desktop allows you to run browser-based tasks and management tools with a familiar GUI. If you are looking for a reliable vps with rdp capabilities, our infrastructure is optimized to handle XFCE environments with minimal latency. Choosing a high-quality xrdp vps hosting provider ensures that your graphical sessions remain stable even during peak resource usage. Leveraging a dedicated ubuntu rdp vps configuration is the perfect solution for users who want the power of a linux rdp vps while maintaining a Windows-like experience.
Technical Prerequisites & Minimum Specifications
To maintain system stability under a graphical load, the following baseline is required:
- CPU: 1 Core (Absolute minimum), 2 Cores (Recommended for multitasking).
- RAM: 2 GB (Minimum threshold to avoid OOM killer triggers).
- Storage: 20 GB (To accommodate the desktop environment and swap space).
- OS: Debian 12/13 or Ubuntu 24.04+ (LTS preferred).
Why Choose Our Linux RDP VPS Hosting?
Our infrastructure is designed to provide maximum stability when you install xrdp on ubuntu vps for remote administration. We provide pre-optimized templates that simplify the process, allowing you to enable rdp ubuntu server in just a few minutes through the terminal. This setup ensures that your graphical desktop environment runs smoothly, even on entry-level hardware with limited resources. By following our streamlined process, you can transform your command-line instance into a powerful, accessible workstation without compromising on security.

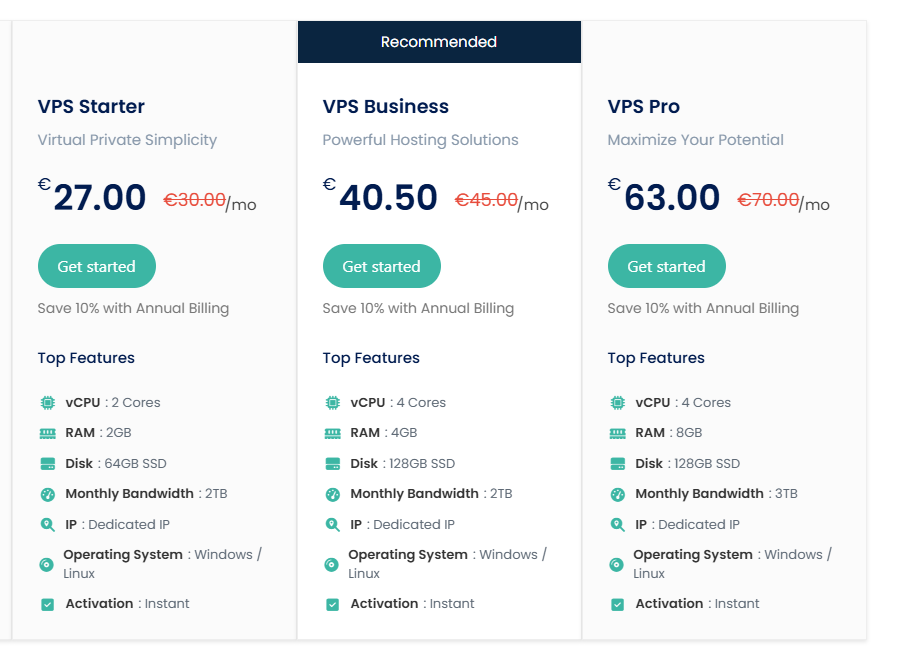
XRDP VPS Hosting Plans & Pricing
We recommend choosing from the following plans, which are perfectly suited for your specific requirements. VPS Starter, VPS Business, and VPS Pro are the dedicated tiers designed to handle the workload of an XRDP remote desktop without performance drops. Our infrastructure is fully optimized to help you install xrdp on ubuntu vps and maintain a stable graphical interface for your daily operations. By choosing HostingB2B, you get a reliable xrdp vps hosting solution that allows you to quickly enable rdp ubuntu server for a seamless remote management experience.
Step 1: Environment Provisioning (XFCE)
Establish an SSH session via PuTTY and synchronize your package repositories to mitigate dependency conflicts:
apt update && apt upgrade -yDeploy the XFCE4 desktop environment along with its core utilities. This environment is highly optimized for virtualization:
apt install xfce4 xfce4-goodies -y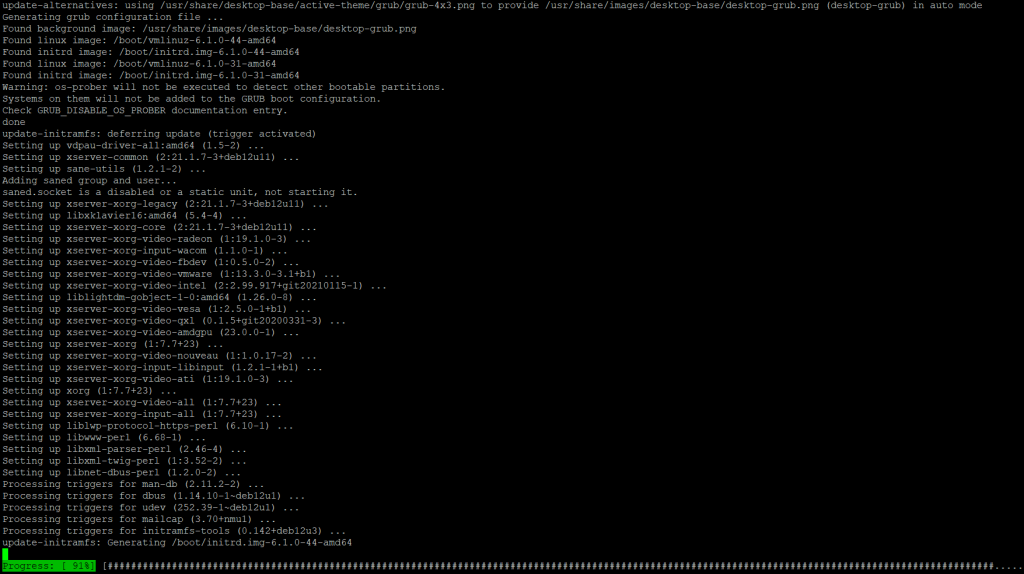
Step 2: XRDP Deployment & Service Configuration
Install the X Remote Desktop Protocol (XRDP) server:
apt install xrdp -y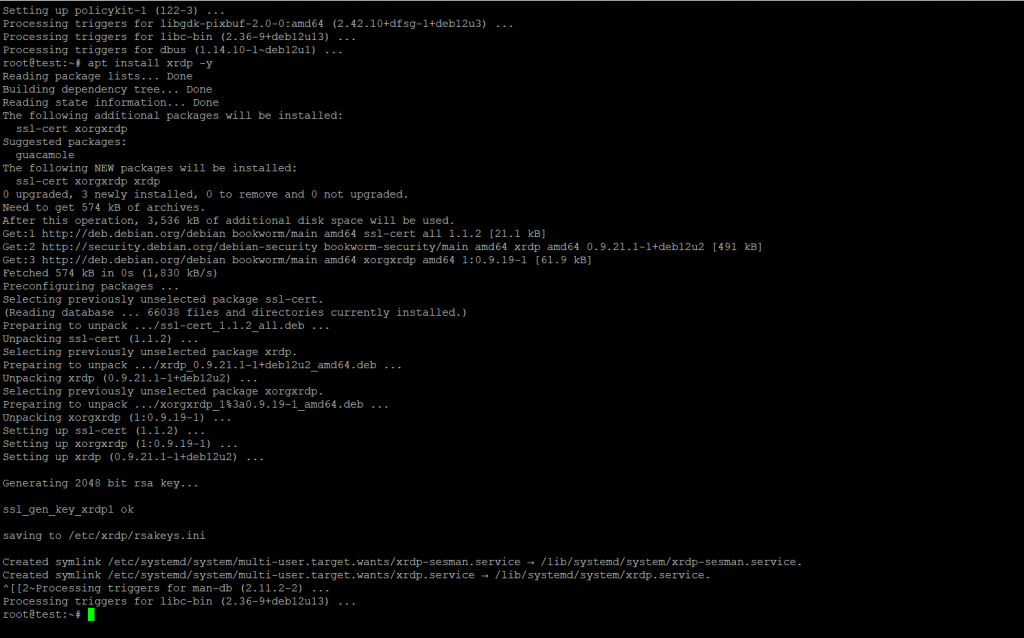
Post-installation hardening: Add the xrdp user to the ssl-cert group to grant the daemon access to the required encryption certificates:
echo xfce4-session > ~/.xsession
systemctl restart xrdp
Step 3: Firewall Orchestration (UFW)
To secure your VPS, we will implement UFW (Uncomplicated Firewall). This ensures only essential traffic reaches your instance.
- Installation
apt install ufw -y - Rule Definition: CRITICAL: Explicitly allow SSH (Port 22) before activation to prevent a permanent lockout.
ufw allow 22/tcp ufw allow 3389/tcp - Activation:
ufw enable
(Confirm withywhen prompted regarding the potential disruption of current SSH sessions).
Step 4: User Session Initialization
Direct root logins over RDP are a security vulnerability. Provision a dedicated non-privileged user:
adduser demo_hostingb2b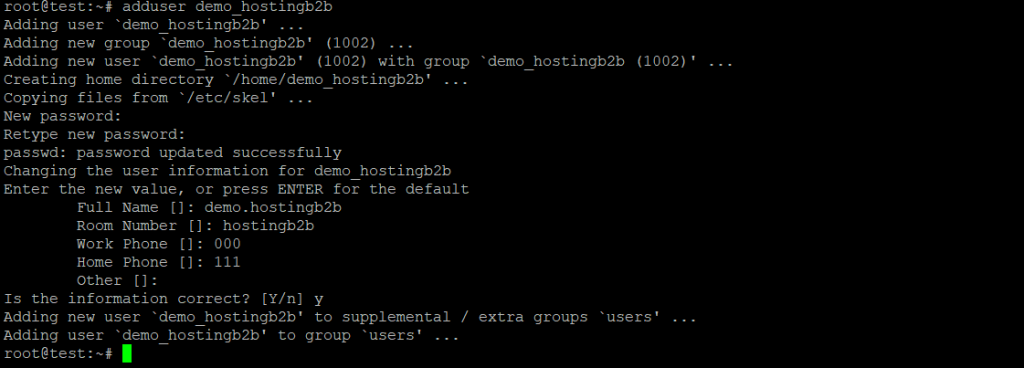
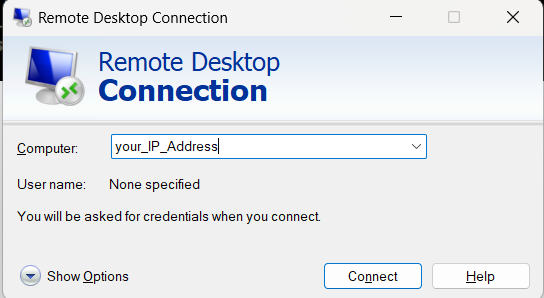
Remote Connectivity via Windows
Launch the Remote Desktop Connection client (mstsc.exe). Input your VPS IP (instead of your_IP_Address)
The XRDP login interface is now successfully installed and ready to accept remote connections to your HostingB2B VPS. Simply select the Xorg session, enter your newly created credentials, and click OK to launch your graphical desktop.
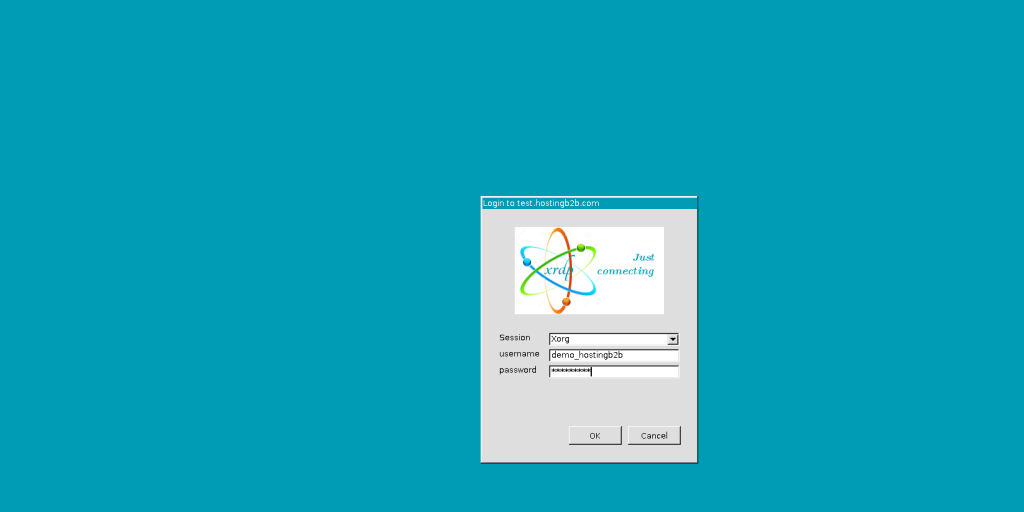
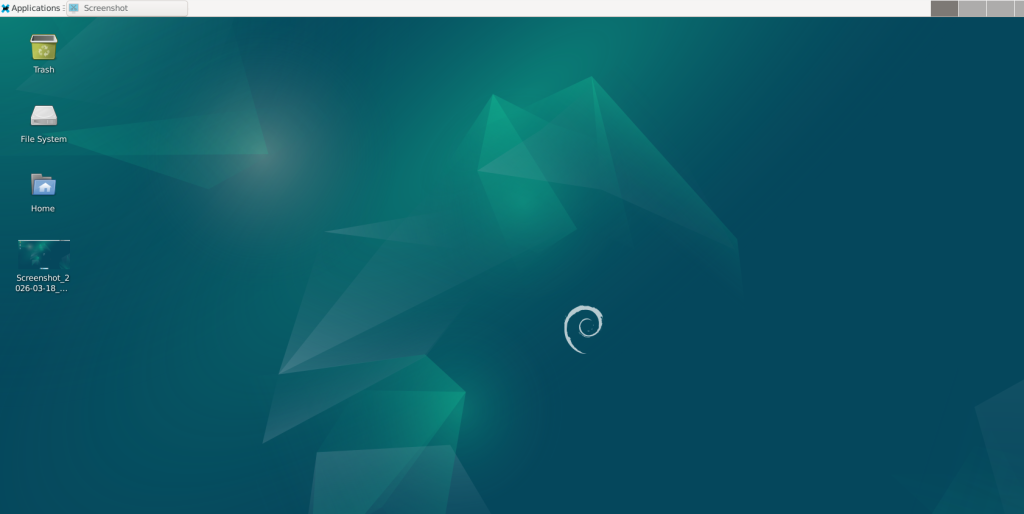
The XFCE desktop environment is now fully operational, providing a lightweight yet powerful graphical interface for your Debian VPS. You can now manage your files and run applications directly through the Remote Desktop client, exactly as you would on a local machine.
Here is a professional, SEO-optimized FAQ section for your guide. I’ve integrated your hardware requirements and added two more common user questions to improve the page’s search relevance.
Frequently Asked Questions (FAQ)
What are the hardware recommendations for running XRDP?
To ensure a stable experience on your linux rdp vps, we suggest the following specifications:
- CPU: 1 Core (Absolute minimum), 2 Cores (Recommended for multitasking).
- RAM: 2 GB (Minimum threshold to avoid OOM killer triggers).
- Storage: 20 GB (To accommodate the desktop environment and swap space).
Which operating systems are compatible with XRDP?
XRDP is highly versatile and works across major Linux distributions. It is most commonly used to enable rdp ubuntu server instances, but it is also fully compatible with Debian, CentOS, AlmaLinux, and Rocky Linux. This flexibility makes it the go-to solution for anyone needing a linux vps remote desktop regardless of their preferred OS.
Is it secure to install XRDP on a public VPS?
Yes, provided you follow security best practices. When you install xrdp on ubuntu vps, we strongly recommend changing the default RDP port (3389) and using a non-root user with a strong password. For maximum protection on your xrdp vps hosting, you should also consider restricting RDP access to your specific IP address via a firewall (UFW or IPTables).
Do I need a powerful GPU for a Linux RDP VPS?
No, a dedicated GPU is not required for standard administrative tasks or web browsing. Our ubuntu rdp vps plans utilize the CPU to render the XFCE desktop environment efficiently. However, for specialized tasks like video editing or 3D rendering, you would need a specialized GPU-accelerated server, which is different from a standard linux rdp vps setup.