You can access your VPS via VNC in Virtualizor. That is in case of an emergency, such as when a firewall blocks your IP, the Internet connection on VPS is not working, you are unable to access your VPS via SSH or for OS Installation/Reinstallation reasons, etc.
1. Log in to your Virtualizor Control Panel.
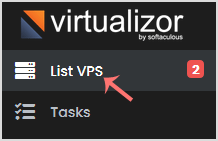
2. In the left side panel, click on List VPS.
3. Hover your mouse on the appropriate VPS, and that line will be highlighted. Then click on the Manage icon in the highlighted line.

4. On the top right side, click on the VNC icon.

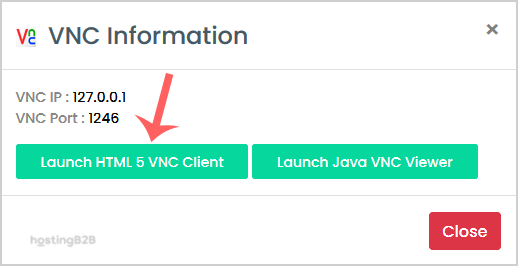
5. The new popup box will open. Click on HTML5 VNC Client.
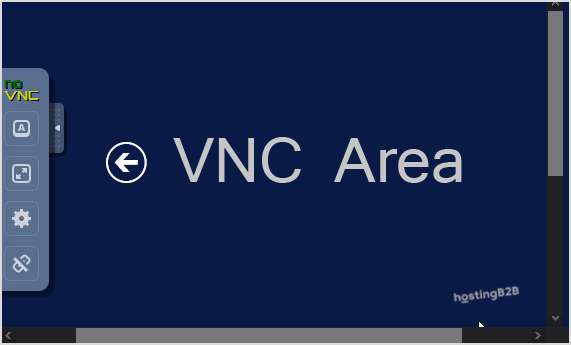
6. The VNC area will resemble the following screenshot:
Now you know how to access your VPS via VNC in VIrtualizor.
Visit our blog for more knowledgebase articles !
The post Access your VPS via VNC in Virtualizor appeared first on HostingB2B.

