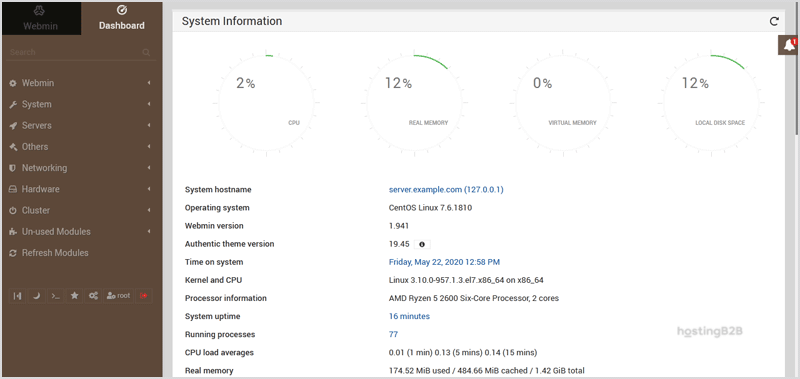
A guide to help you install Webmin on CentOS 7/8.
What are the requirements?
– Fresh CentOS 7 or CentOS 8, installed on your VPS/Server.
How to install Webmin?
Step 1: First, you will need to login to SSH Client using your root account.
Then enter these four commands:
yum install wget -y
wget http://master.dl.sourceforge.net/project/webadmin/webmin/1.941/webmin-1.941-1.noarch.rpm?viasf=1
yum -y install perl perl-Net-SSLeay openssl perl-IO-Tty perl-Encode-Detect perl-Data-Dumper unzip perl-Encode-Detect
rpm -U webmin-1.941-1.noarch.rpm
Note: Installation can take a few minutes and will depend on your server speed. Once it is complete, you will see a message with your Webmin admin URL.
Step 2: Next, open Webmin in a browser, https://ip-address here:10000
On CentOS 7/8, if the URL does not work, you need to open port 10000. You can do so by running this command:
firewall-cmd --zone=public --add-port=10000/tcp --permanent
firewall-cmd --reload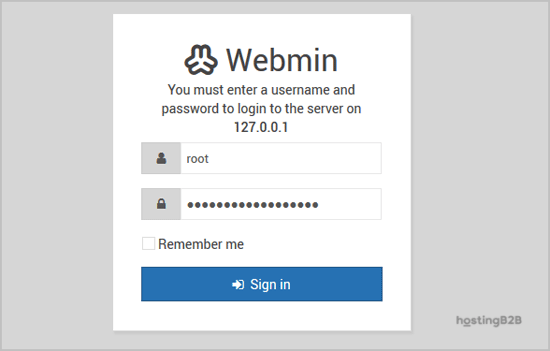
The Webmin Dashboard will open. The New Design of WebMin looks nice.
You have successfully installed Webmin on CentOS.
Visit our blog for more knowledgebase articles !
The post How to install Webmin on CentOS 7/8? appeared first on HostingB2B.

